Do Iron-on Patches Really Stay On?
Choosing the right patch type for your business, charity, or event can be daunting if you don't know the differences between our products, and our diverse product range offers sew, velcro, iron, and stick-on patches.
If you're looking for a permanent attachment solution, you'll need either the sew or iron-on patch.
Iron-on patches can be applied in seconds, making them perfect for those without sewing skills. But despite having more than four thousand positive reviews on Reviews.io, one of the most common questions we get asked is: do iron-on patches really stay on?
In this blog, we'll explore the differences between iron-on and sew-on patches, what you can apply iron-on custom patches to, tips for using them, and answer the question, "Do they really stay on?".
Do Iron-On Patches Really Stick? [Quick Answer]
Yes, iron-on patches really stick, as long as you apply them properly and use the right fabric. The heat-activated adhesive creates a strong bond that holds up to everyday wear and tear. Once it’s on, it’s staying put … unless you go at it with some serious force.
What's The Difference Between Iron & Sew-on Patches?
While the initial question might seem perfectly obvious to most (one patch you sew on and one patch you iron on), there are a few caveats we need to discuss.
The only physical difference between iron-on and sew-on morale patches (unless you're comparing embroidered patches and woven patches) is found on the back of the patch. Sew-on patches have exposed threads, while iron-on patches have a smooth and shiny area where the heat-activated adhesive is attached to the fabric.
Here are some pros and cons of the two patch types.
Pros:
- An Iron-on patch take seconds to apply.
- Sew-on patches can be used with almost any fabric.
- You can sew iron-on patches for extra durability.
- Removing a sew-on patch is simple.
Cons:
- Sew-on patches can be time-consuming to attach.
- If you incorrectly place an iron-on patch, you won't be able to remove it without causing damage to the fabric.
- You'll need sewing skills (or know someone who has) to attach your sew-on patch.
- Iron-on custom patches can't be applied to all materials.
Pro Tip: We offer five different types of patch backings to help you get the most out of your patches.
What Fabric Can You Stick Iron-on Patches To?
It's vital to assess what types of fabric your target audience might apply your patches to before committing to iron-on custom patches. Here's a list of materials you can and can't use.
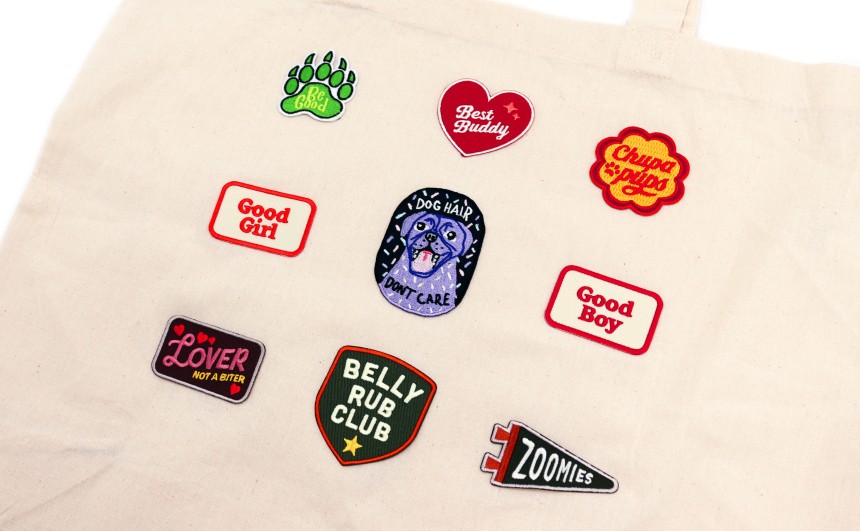
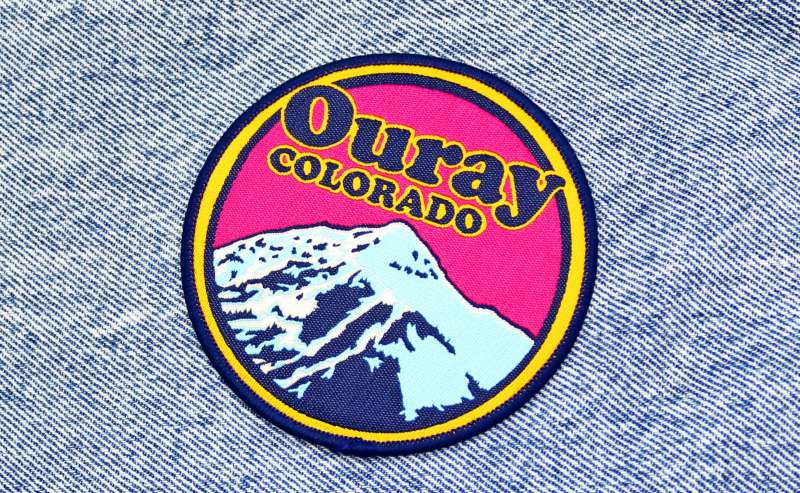
Do: Apply iron-on embroidered or woven patches to wool, denim, cotton, cotton blends, & velour.
Don't: Apply patches to nylon, leather, faux leather, vinyl, or waterproof rainwear.
The adhesive on the back of the patch will activate at 204°C or 400°F, so any heat-sensitive fabric will not be suitable for this patch type.
Do Iron-on Patches Really Stay On?
Many people are sceptical that they can permanently attach a patch to a jacket, bag, or shirt using only their iron. Hopefully, this blog will dispel those worries as we prove beyond all doubt that a Made by Cooper iron-on patch is in it for the long haul.
The adhesive backing we use on our patches creates a super-strong bond between fabric and patch that can only be broken by brute force and will undoubtedly remain unaffected by everyday use ... assuming the patch has been appropriately applied to an appropriate fabric.
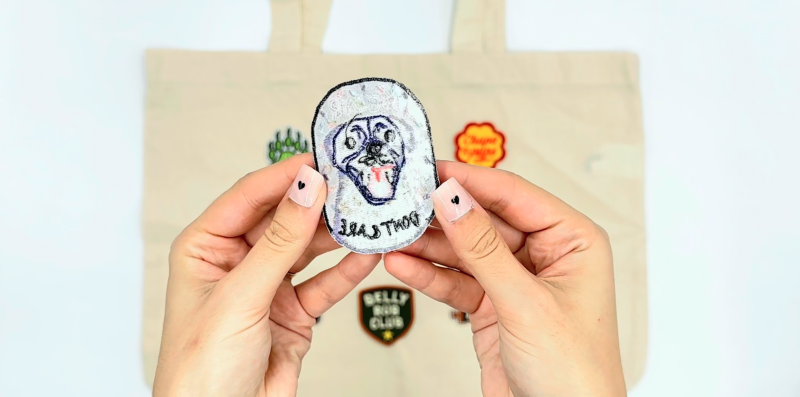
If you're still sceptical, check out our designer's poor attempt at ripping off a patch.
Will Iron-on Patches Come Off in the Wash?
The scepticism isn't only surrounding how well patches stay on; people also worry about their ability to survive multiple wash cycles. Our high-quality iron-on custom patches are designed to withstand all the washing, as long as you follow these steps:
- Wait Before Washing: Wait at least 24 hours after applying the patch before washing the garment.
- Gentle Cycle: Turn the clothing inside out and use a gentle washing cycle to protect the patch and the fabric.
- Avoid Dry Cleaning: Dry cleaning may damage the patch's adhesive, so it's best to avoid it.
Are Iron-On Patches Durable?
The durability of an iron-on patch is directly correlated to the quality of the materials used in its production. With the proper care and attention, you can expect our iron-on patches to last for a couple of years.
If and when the adhesive begins to fail, you can sew the patch on to ensure it remains in place.
How Do You Apply an Iron-on Patch?
To ensure your iron-on patches stay on, follow these steps:
- Check Your Garment or Fabric: Make sure your chosen fabric can withstand the heat before applying your patch.
- Clean and Dry Surface: Before applying the patch, ensure the fabric surface is dry and clean to maximise adhesion.
- Cover the Application Area: Once you've positioned the patch, cover it with a tea towel, piece of fabric, or parchment square to protect the patch threads & fabric.
- Heat and Pressure: Iron-on patches require heat and pressure to activate the adhesive. Use a hot iron (204°C or 400°F) and apply steady force for around 20-30 seconds as you iron over the top of the patch.
- Flip Your Fabric: Turn your fabric over (recover if you wish) and iron again for a further 15-20 seconds.
- Cooling Time: Allow the patch to cool down completely before handling. This helps the adhesive set properly, ensuring a lasting bond.
Check our blog on how to apply patches for a more detailed guide.
Key Takeaways
Iron-on patches from Made by Cooper are a fantastic way to create simple-to-use products that will avoid customer complaints about reluctant patches and missing merch.
With proper application and care, these patches can stay on securely and endure regular washing. So go ahead and let your creativity shine with iron-on patches (or any other custom merch), knowing that they will add a vibrant and lasting touch for your clients, supporters and fans!