How to Apply Iron-On Patches
Custom patches are a great way to add a personal touch to clothing, bags, and hats. They can showcase your personality, highlight your interests, or even represent a group or organisation you belong to.
But how do you apply these patches to your items?
In this article, we’ll review the steps for applying iron-on patches and provide some ideas to inspire you.
Why Choose Custom Iron-On Patches?
Custom iron-on patches are a popular choice for personalising clothing and accessories for several reasons:
- They are durable and long-lasting, making them an excellent option for items that you wear or use frequently.
- They can be easily applied, allowing versatility and the ability to change your look.
- They can be customised with any design, making them a unique and personal addition to your items.
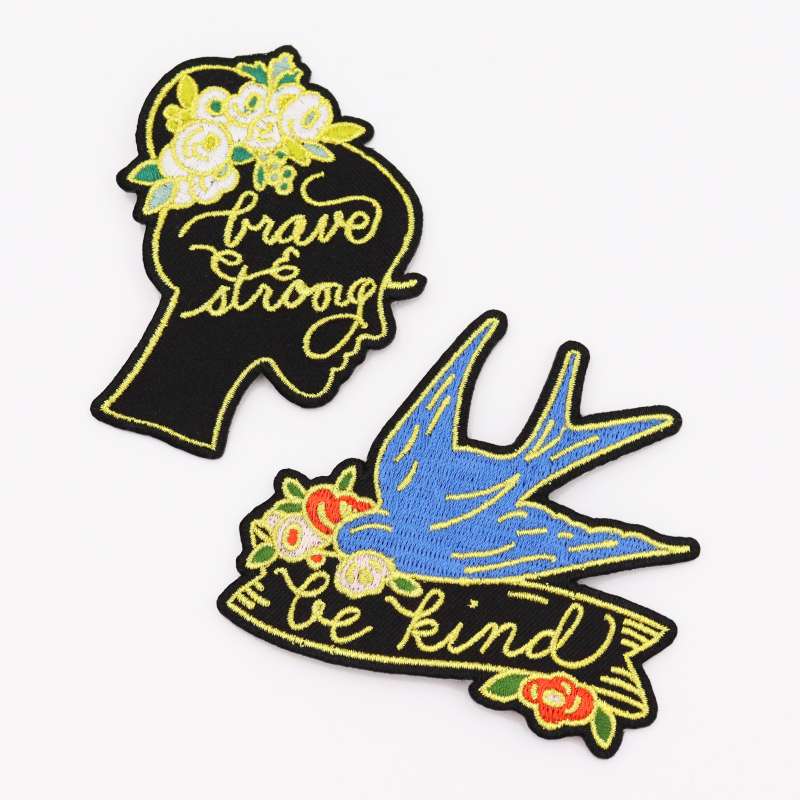
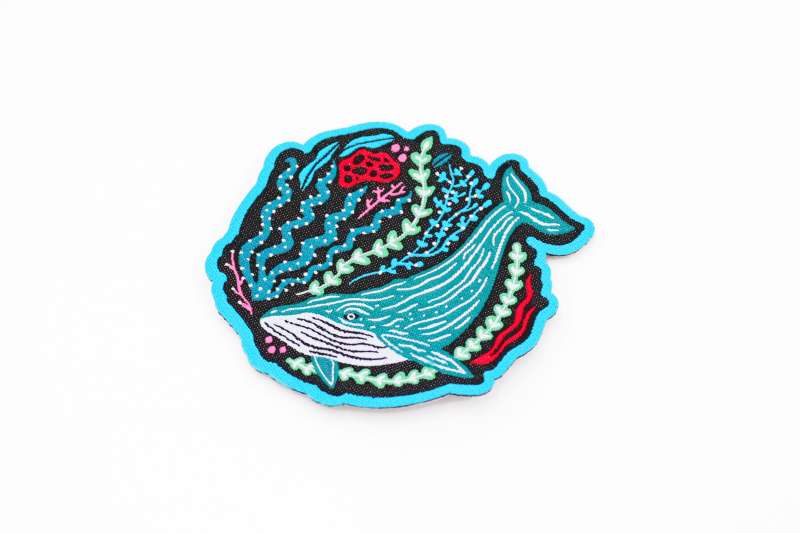
Patch Ideas
Before we dive into the application process, let’s explore some patch ideas to get your creative juices flowing:
- Personalised patches with your name or initials
- Patches representing your favourite sports team, band, or TV show
- Patches showcasing your hobbies or interests, such as music, travel, or cooking
- Patches representing a cause or organisation you support
- Patches with fun or inspirational quotes
How to Apply Custom Iron-On Patches
Applying iron-on patches is a simple process that can be done at home with just a few materials. Here’s what you’ll need:
- Iron
- Ironing board or towel
- Thin cloth or parchment paper
- Custom iron-on patch
- Item to be patched (clothing, bag, hat, etc.)
Now, let’s get started!
Step 1: Prepare Your Item
Before applying the patch, ensure the item you are patching is clean and wrinkles-free. If you are restoring a piece of clothing, washing and drying it beforehand is best. This will ensure that the patch adheres properly and stays in place.
Step 2: Heat Your Iron
Plug in your iron and set it to the highest heat setting. Turn off the steam function, which can interfere with the patch application process.
Step 3: Position the Patch
Place the item you are patching on the ironing board or a towel. Then, position the patch on the object in the desired location. Use pins or tape to hold the patch in place if needed.
Step 4: Protect Your Patch
To protect your patch from direct heat, place a thin cloth or parchment paper over it. This will prevent the patch from melting or getting damaged during the ironing process.
Step 5: Apply Heat
Press the iron firmly over the patch and hold it in place for 10-15 seconds. Make sure to apply pressure evenly over the entire patch. This will activate the adhesive on the back of the patch and help it adhere to the item.
Step 6: Check the Adhesion
After applying heat, carefully lift the corner of the patch to check if it is sticking to the item. If it is not fully adhered to, repeat step 5 until it is securely in place.
Step 7: Let it Cool
Once the patch is fully adhered, let it cool for a few minutes. This will allow the adhesive to set and ensure the patch stays in place.
Step 8: Test the Adhesion
After the patch has cooled, gently pull on it to test the adhesion. If it comes off easily, repeat steps 5-7 until securely in place. Done correctly patches really do stay on.
Tips for Maintaining Your Custom Patches
To ensure that your custom embroidered or woven patches stay in excellent condition, here are a few tips to keep in mind:
- Avoid washing the item with the patch too frequently, which can cause the patch to loosen or come off.
- Hand wash the item or use the delicate cycle on your washing machine.
- If ironing the item, avoid placing the iron directly on the patch. Instead, use a thin cloth or parchment paper to protect it.
- If the patch starts to come off, you can re-apply heat to reactivate the adhesive and secure it back in place.
Where to Get Custom Iron-On Patches
We're the UK's leading custom iron-on patch company. Send us an email with your patch ideas, and we'll help you bring your designs to life at an affordable price for your business, group, or organisation.
Key Takeaways
Custom iron-on patches are a fun and easy way to add a personal touch to your clothing and accessories. Following the simple steps outlined in this article, you can easily apply custom patches to your items and showcase your unique style. So get creative with your patch ideas, and enjoy your personalised items!